Table of contents
No headings in the article.
Netlify is a remote-first cloud computing company that offers a development platform that includes building, deploying, and serverless backend services for web applications and dynamic websites.
Very often we want to showcase our project on our official social sites or send it to the friend or we have to test our websites on mobile phones and different devices, In that scenario, Netlify helps in easily deploying our sites and easily accessing them through hyperlinks
Below are some of the steps we can follow
For HTML, CSS, and JS projects
In this case, we can try the Netlify drag and drop feature available on the available link here
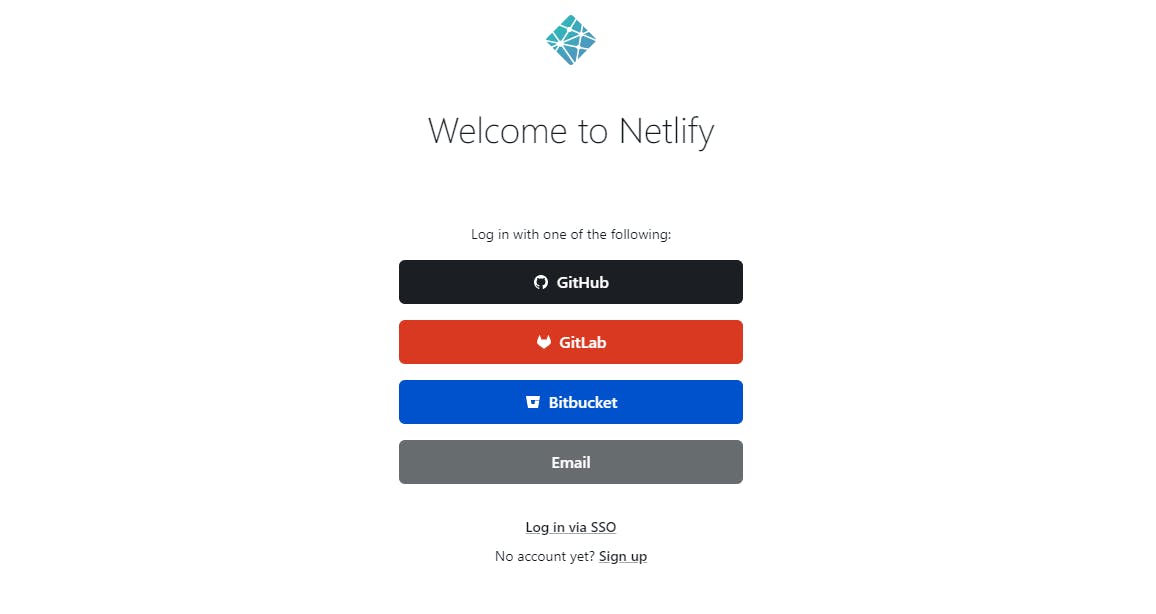
First, go to this link app.netlify.com/drop and Sign up/ log in If you have already an account on Netlify you have to log in with one of the following

I have already an account so I Log In from the GitHub
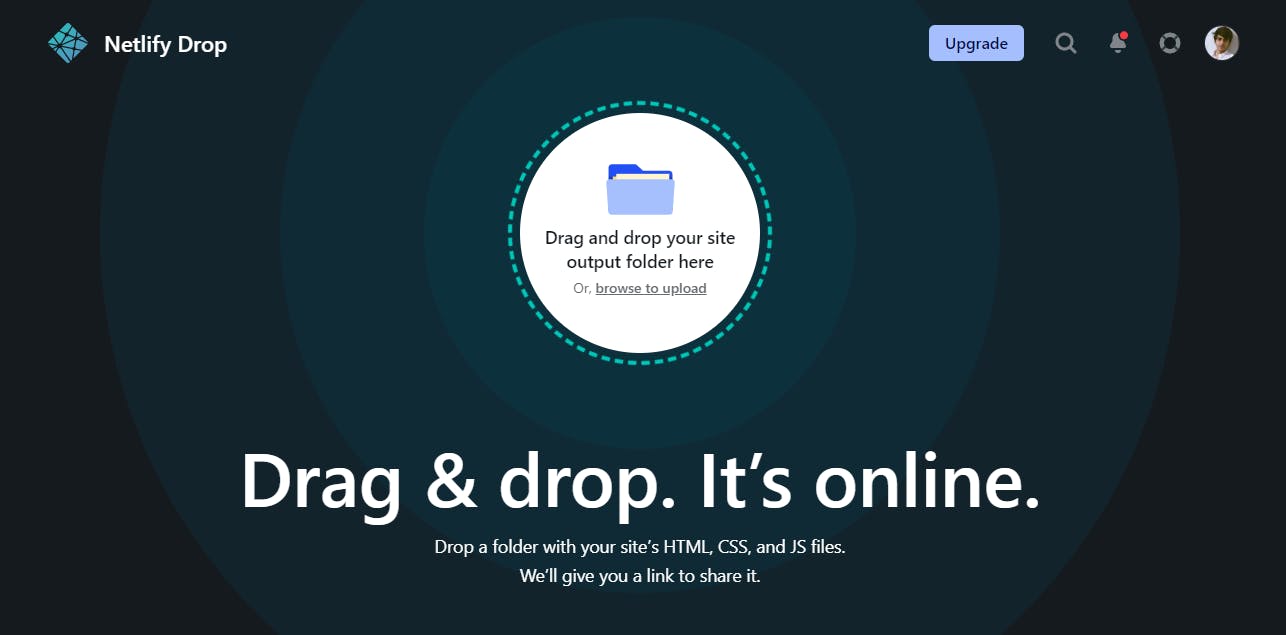
After clicking it redirects you to the Netlify drag-and-drop page

Now you can drag and drop the folder with all the HTML, CSS, and JS files in the same folder or browse to the required folder in the computer after that a dialog box will appear and you have to click on upload to upload the site
After following these procedures now your site is ready to deploy and it will take some time according to the size of your file
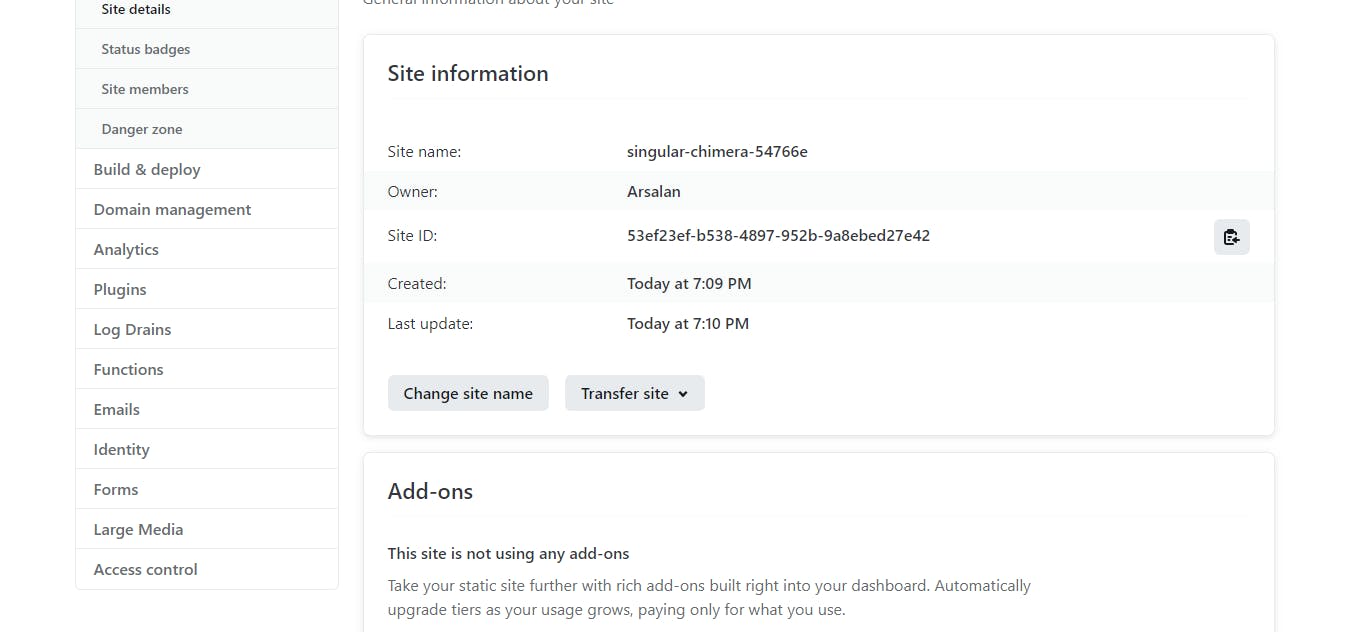
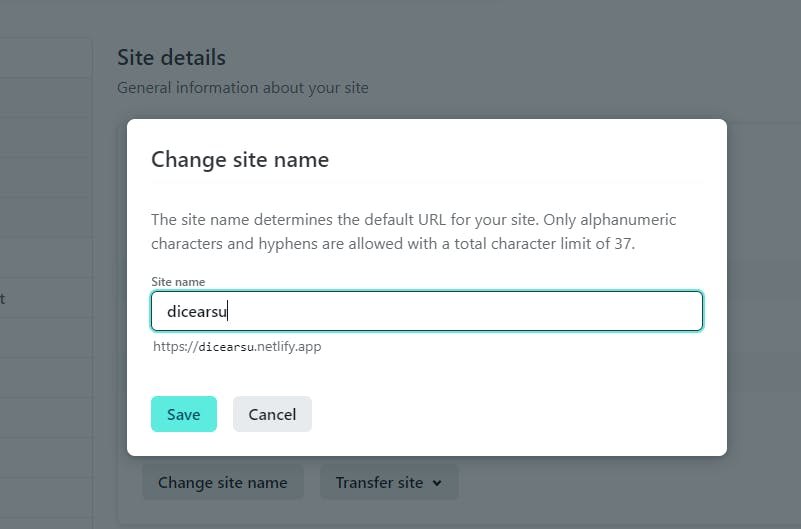
- You can also change the site name by clicking on the Site setting and after that click on the change site name and give it a unique name that is not available already. Before deploying your site make sure that your HTML file has a named index.html otherwise, it shows Page not found error after deploying


Now our site is available on https://{name_given_by_you}.netlify.app/
In my case, it is available on dicearsu.netlify.app
For React Project
First, open the React project in the code editor you use Make sure the project which you want to deploy is imported in the index.js file in the src folder in your directory Then delete the build folder if available in your project directory Next in the terminal run this command,
npm run build
It will create the build folder again with all the files necessary for easy deploying
Next, follow the same steps we follow above while deploying HTML CSS, and JavaScript projects, just drag and drop the builds folder and follow the same steps given above.
So by following these simple steps you can deploy your sites easily
Thank you for reading the entire blog,
For more coding-related blogs follow me and feel free to give any feedback in the comment section
